As an Amazon Associate, I can earn from qualifying purchases. Learn More
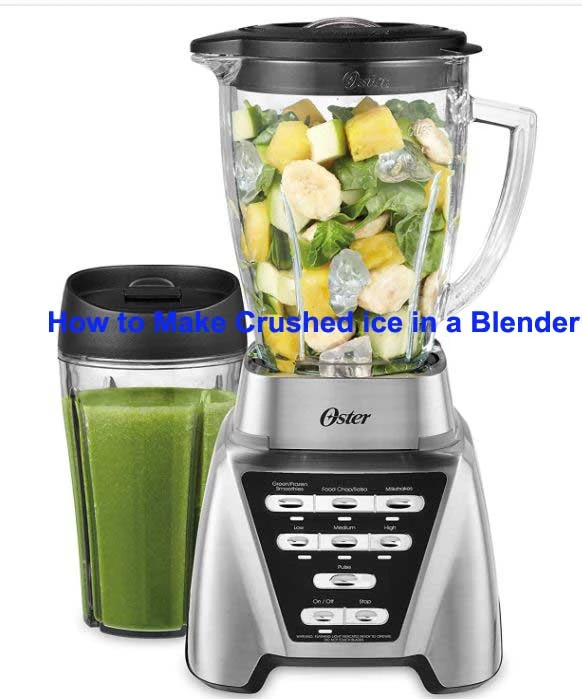
Do you really need an ice shaver to make your favorite cold drinks? Well, no you don’t. In this post, I’m going to show you how to make crushed ice in a blender and still have it as fluffy as snow. And then you can make your favorite slushie flavor, Mocha Frappuccino, frozen margaritas, or sugar-free snow cones in seconds.
Even so, ice cubes happen to be one of the toughest ingredients. If you have the wrong type of blender, you’ll not just end up with unblended ice chunks. The ice could also put much stress on your machine, resulting in a burnout motor and or a broken blade.
Features of a Good Blender To Make Crushed Ice
Overall, a dedicated shaved ice maker is the best option to make fluffy ice, especially for snow cones. Just as the name, the machine’s primarily for the task, whereby it has a high-speed motor and exclusive (linear) ice shaving blade. So, you never need to worry about your crushed ice having any left chunks or inconsistent texture.
If you don’t want to invest in another kitchen appliance, you can still use your blender for ice crushing. But the tool must have the right features as not all, even those advertised as so, can handle the task.
The seven features that make a blender good for crushing ice include:
- Power: a blender has to have enough power to fully crush solid blocks of ice. If it’s not, you’ll certainly end up with unblended ice chunks.
- Blade material: the blending blade of your machine needs to be tough enough to break up the ice without breaking apart.
- Blade edges: A high-power blender like Breville Super Q or Vitamix usually crushes the ice by pummeling (think of it as hammering at a very high speed). So, the blades necessarily don’t need to be sharp.
But for Ninja and other cheap blenders under $100, they usually crush the ice by chopping the ingredients at very high speed. So, the blades have to be sharp to ease the stress on the motor and ensure complete pulverization.
- Container Material: The container of your blender also needs to be tough enough to withstand the aggressive beating of the solid ice cubes onto the walls.
- Container Design: when you try to crush ice on both Vitamix E320 and 5200 blenders, you’ll notice the former handles the task pretty much faster. This is so as a wider blender container has more room for the ingredients to fall into the blade and enhance the blending process.
- Pulsing switch: The feature’s really crucial when you want to have optimal control in particular crushed ice textures. When pulsing, you also avoid the chances of the ice cubes getting stuck under the blades or smoking the motor when working with a regular blender.
- Drive System: Do you blend ice a lot? If you do, you’ll not only need the best of all the other features above, but also a solid drive gear system. A metal drive system is actually the best as it doesn’t disintegrate like the plastic ones.
How to Make Crushed ice in a Blender With/ Without Water
Part One: Making dry fluffy Crushed Ice
When making dry snowy ice for cones or Margaritas, the idea’s to blend the ice cubes without water. So, a dedicated high-speed blender like Blendtec or Vitamix will provide the best results without stressing out the machine.
The Ninja Bl770 and Bn801 can also handle the task pretty well from their Total Crushing blade system. But you have to remember the blenders use a plastic drive gear system. So, you shouldn’t use it on the task every day if you’d like it to serve you for a couple of years.
In any case, to make dry fluffy crushed ice in your blender:
- Add your dry ice into the blending jar while making sure it’s not too densely packed for the blade to move freely.
- Next secure the lid on the container, then mount it on the motor
- Power on the blender, then pulse the mixture at the highest speed in a two or three-second interval.
- Pulse again and again (about six or eight times, depending on the amount of ice available) until all chunks are crushed. As all ice cubes are turning into powder, you’ll hear the noise from the blender change.
- Once all the ice cubes have been crushed, turn off the motor and pour your crushed ice into a clean shallow bowl
- Use the crushed ice immediately before it melts into water.
Note: in a Vitamix or Blendtec, you can also crush the dry ice at the highest speed for about seven seconds to get the snowy texture. In case you’re using the Vitamix tall container, you might want to blend the ice in small batches. Otherwise, blending a large amount at once will pack a lot of ice cubes around the blade, and that will take longer to complete the process.
Part Two: Making Wet Crushed Ice in a Blend
Typically, wet chopping the ice is pretty common with Vitamix blenders, but I’m sure other brands will work. During a test, the resultant crushed ice was super soft such that you could even cut through with a blade without any difficulty.
Just as the name, wet chopping the ice usually involves “wet” blending- literally. So, to do the task, you’ll need to:
- Add your dry ice into a blender jar with water. This will have the ice floating and enhance the crushing process through the vortex
- Next secure the lid on the container, then mount it on the motor
- Now power on the machine and pulse the mixture on the highest for about four or five times. Alternatively, you can blend continuously for about five seconds
- Once all the ice cubes have been crushed, turn off the motor and pour your blend over a strainer to separate the ice from the water.
- Transfer the strained wet ice into a clean bowl or glass and use right away before melting
Part Three: Making Crushed ice in a Person Blender
In a previous post, we concluded you can put ice in a Nutribullet, perhaps when trying to make a margarita during a road trip.
However, you’ll need to use smaller ice cubes to avoid stressing up the motor or ending up with unblended chunks. And that’s not just for the Nutribullet, but also other single-serve personal blenders like Nutri Ninja.
Meanwhile, to make dry fluffy crushed ice with a capable personal blender, you just need to:
- Add a couple of mini ice cubes into the blending cup and secure the blade system
- Invert the loaded cup and lock it to the motor base
- Power on the machine and blend continuously for about six seconds.
- Stop the blender, then unhook the blending cup and shake it a little bit to push the ice cubes on top into the blades
- Repeat Step (4) until all the ice cubes are crushed
- Finally, transfer your crushed ice into a bowl or glass and use it immediately
Note: If you were using a Nutri Ninja Auto iQ, it has very sharp and upright blades with a strong vortex. So, you should have snowy ice texture right in Step (3). The little guy also has a tiny control panel, thereby you’ll only need to press the Start/ Stop button to start blending.
As for a Nutribullet 600 or 900, there are no physical buttons. So, you can activate continuous blending by pressing down the cup on the motor and twisting clockwise.
Also, the blades of the Nutribullet compact blenders don’t create a strong cyclonic pull like the Nutri Ninja. So, you’ll have to follow all the six steps above to make the crushed ice.
Key Takeaway:
Here are a few examples of some of the blenders that can make crushed ice
| Blender Brand | Motor Power Output | Drive Gear System | Blending Capacity | |
| Vitamix Pro 750 | 1500 Watts | All Metal | 64 Ounces | |
| Blendtec Total Classic Original | 1560 Watts | All Metal | 75 Ounces | |
| Ninja BN801 Pro Plus System | 1400 Watts | Sturdy Plastic | 72/ 64/ 24 Ounces | |
| Nutribullet Pro Personal Blender | 900 Watts | Sturdy Plastic | 24/ 32 Ounces | |
| Oster Pro 1200 Glass Jar Blender | 1200 Watts | Metal | 24/ 48 Ounces | |
Don’t Forget to Freeze Remains
Well, that’s how you can make crushed ice in a blender at home, RV, or during camping. The trick is all about having the machine with the right features and on the right ice cube size.
After blending, do remember crushed ice melts faster than when in solid form. So, use what you’ve planned immediately. Then, for whatever remains, put in a plastic, sealable bag or container and store in a freezer until you need it again.