As an Amazon Associate, I can earn from qualifying purchases. Learn More
Last week, I showed you guys how to sharpen Ninja blender blades for better chopping and blending results. But is it possible to do the same with my Vitamix? If not, is there a way how to replace Vitamix blade myself without having to involve the Customer Support team?
Well, while you can use a Vitamix blender for juicing, grinding, and a whole lot of culinary tasks, it does have some limitations too. One of the limitations is that the blade comes fixed to the blending jar. It does not have a plug-and-remove setup as we have on the like of Ninja Bl770 or Bn801.
So, even if you want to sharpen, replace, or do a thorough cleaning around the blade area of your Vitamix, it’s a bit of a hassle.
Vitamix Household vs Commercial Blender
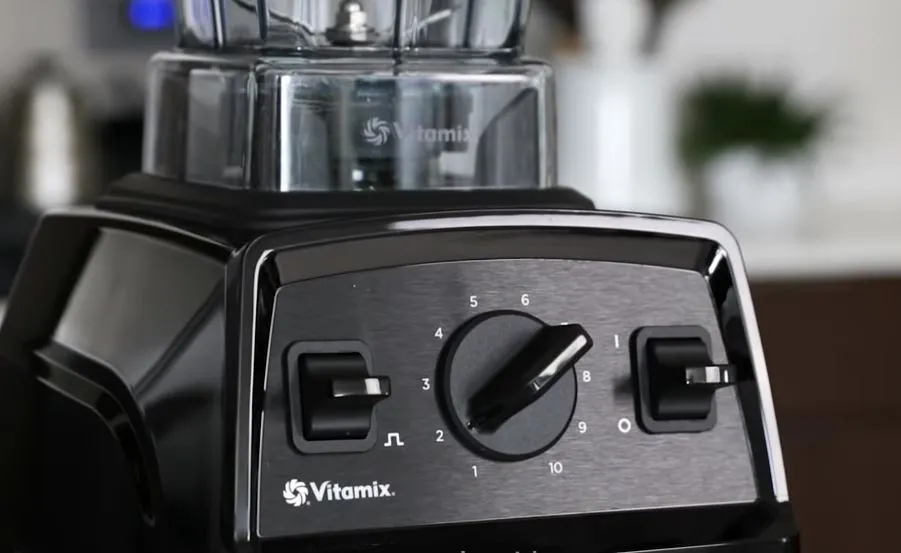
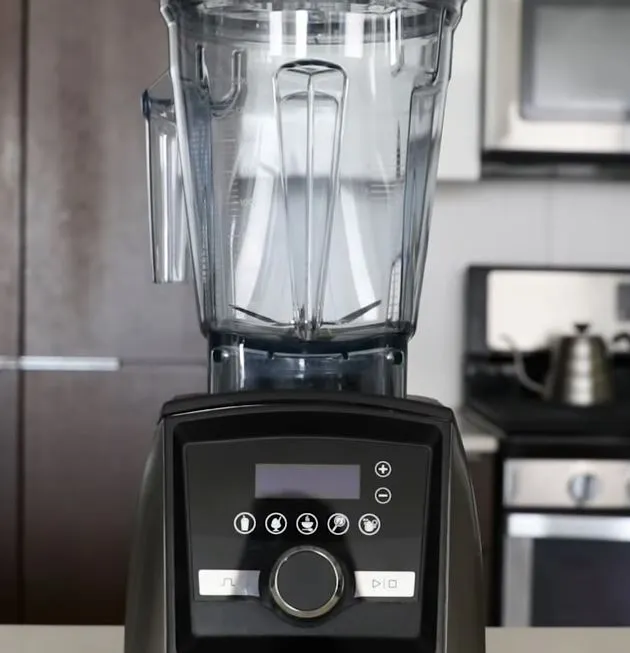
If you walk into some of the small food bars, it’s not surprising to find the owner with the household Vitamix 750 or A3500 blender. The company, though, is against using the household Vitamix series at commercial premises and could void the warranty.
If you want an appliance for restaurant and food bars, they have dedicated commercial-grade machines like those Starbucks use. The Vitamix Quiet One is a perfect example if you won’t mind paying over a grand.
But on the plus side, the commercial Vitamix does have more capabilities, like 30+ preset programs and 90+ variable blending speeds. It’s also available with more accessories, including a drive socket kit and Retainer Nut Wrench.
The Retainer Nut Wrench is the key how to replacing the Vitamix blade that’s not functioning properly. And considering this wrench is yet to be available on the Vitamix household catalog, they simply don’t want you to replace the blade.
In fact, I’ve spent over an hour looking for a replacement blade you could use on the Vitamix 5200. But all I could find was the blade for the classic tall and low-profile jars for the commercial blenders.

The only replacement blade and Retainer Nut Wrench I could find for Vitamix household machines are generic brands. For those of us with experience, these generic replacement products are usually 50/ 50, whereby they can work as intended or fail terribly.
A Quick Guide on When & How to Replace Vitamix Blade
As I’ve just mentioned above, it’s possible to replace the blade of Vitamix Household blenders if you wanted. But Vitamix is (in a way) against it, probably to have you buy the whole replacement pitcher.
Nonetheless, all the steps how to replace the Vitamix blade from the commercial blender are pretty much the same with household machines. So, you could follow them when working with generic replacement parts from a third party.
Part One: When to Replace Vitamix Blade
One of the reasons why Vitamix blenders are so expensive is their well-made design and premium components. But even with the premium quality, these components will wear out at some point.
The wear doesn’t include dulling of the blades since the blender work by pummeling through the ingredients. It (the wear) includes situations such as when:
- The blade edges have gouges, nicks, or cracks
- The blade is making a grinding noise when spinning
- The blade makes vertical movement when you push
- The blade is difficult to spin, including if you try to spin by hand
- You can see the ball bearings where the seal is normally located
- The blade appears too loose and spins freely like a pinwheel in the wind
- A tooth/ teeth of the blade assembly gear doesn’t have continuous edge/s or consistent depth
Part Two: How to Replace Vitamix Blade
If you inspect your Vitamix blade and it has either of the seven issues, you’ll need to replace it for optimal performance. And to do that, you’ll first need to get a retainer nut wrench compatible with your jar model number. Then:
- Lay a clean rag on the counter and turn your Vitamix jar upside down over it
- Place the wrench onto the retainer nut securely. It’s pretty easy to secure as you can only fit one way
- When the wrench is secured properly, rotate counterclockwise to unscrew the retainer nut. If the nut feels too tight, grab the jar in a chokehold and try again
- Once you unscrew the retainer nut completely, the blade should pop out of its place. If the blade seems stuck, gently hit it by hand
- Next, grab the new replacement blade and install it where the previous one was. The blade and where it mounts kind of have two flat sides. Thus, only fits one way
- After you have fitted the replacement blade in place, grab it from the inside with a cloth so you can secure the retainer back with ease.
- Now, twist the retainer nut clockwise until you reach the maximum finger tight. Then grab your wrench again and give the retainer nut a tighter snug
- Finally, with the new blade secured, add water to the Vitamix jar to confirm it doesn’t leak from the bottom
Avoid Premature Wear with Better Care
In conclusion, that’s how to replace Vitamix blade that has cracks, worn-out gears, or any other type of wear. It’s a pretty straightforward hack if you have the retainer nut wrench. But as I’ve said earlier, only the users with a commercial Vitamix blender are free to do it at any time.
Speaking of early, make sure you use your Vitamix appropriately to prevent early/ premature wear of the blade. And that means no blending forks, spoons, and other metal objects or placing/ removing the jar on the base when the drive socket is spinning.
